Photo by Rubaitul Azad on Unsplash
How to Add Github Login to Supabase
Github Login Supabase Authentication tutorial
If you are anything like me, you like to find a tutorial that breaks down the documentation for certain software, be it CMS, backend, or styling.
As I was creating full-stack applications with Supabase, I noticed a need for more tutorials on integrating providers for logging in with Supabase.
In this post, you will learn:
How to create a project in Supabase and enable Github Authentication
How to create a Github Oauth App
How to connect Github to Supabase
So, if you want to know any of these things, please continue. If you prefer video content please visit my YouTube Shorts on this topic.
How to create a project in Supabase
The first step to creating the GitHub login is to have a project in Supabase. They offer two projects on the free tier, perfect for small projects and beginners to the platform.
Once registered, you can create a new organization and then a project in the Dashboard, as shown below.

Go to the authentication section and enable GitHub in the providers section

Screenshot showing GitHub authentication in Supabase
Supabase requires a Client ID and a Client secret to link to GitHub so it provides you with a callback url, copy it and store this for the next step.
How to create a Github Oauth App
Now that we have enabled Github authentication we need to create an application on Github to connect to the callback URL on Supabase.
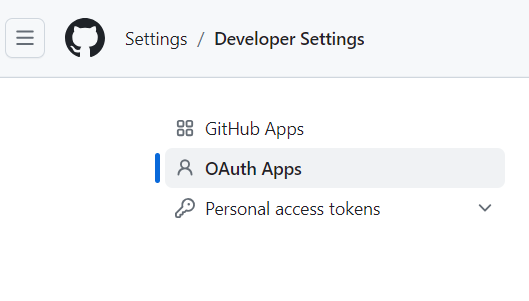
To do this we will go to our Github profile and navigate to developer settings.
Once we have arrived at the developer settings we will see Github OAuth Apps.

Create a New Oauth App by filling out the requested items:
Title of the application
Logo image— if you have one
Redirect URL — enter “localhost:3000” or the dev environment URL for testing
Note: We will be creating an application in Nuxt 3 next so please use localhost:3000.
Authorization callback URL — this is the URL you copied from Supabase
Once completed you will see the Client ID and a button to generate your Client secret. Copy these items and navigate back to Supabase to complete the process.
How to add Github Login to Supabase
Once back in the Supabase site, open the provider settings and place the Client ID and the Client Secret in the relevant areas.
Congratulations you have now successfully integrated GitHub Login with Supabase.
Next steps
In the next tutorial, we will take this integration and create a full-stack application using frontend frameworks like Nuxt and Astro js.
Thank you for taking the time to read this tutorial. I also would like some feedback on what integration you would like to see next.


