

Photo by Carlos Muza on Unsplash
How I created a Full-Stack Marketplace website in a weekend
using Nuxt.js and Supabase


Introduction
The project — Create a local marketplace website, similar to eBay or nextdoor.
The guidelines:
Create an admin page to add and remove items from a database
Create a customers page where they can add their name to a specific item to claim it.
Tech stack:
How I approached the project
The key to any problem-solving or project is micro-tasks, where you take the project and slice it into manageable chunks. So taking that idea I broke down the elements and worked on one page at a time.
As I had decided to use Supabase (my current favorite backend tool), I started working on creating a table for the products that would be featured on the website.
The table needed to have a few elements:
Title
Description
Current Value
Selling price
Image
Claimer — who has claimed it
Deadline — when it need to be sold by
Notes — damage issues etc
Here is the result
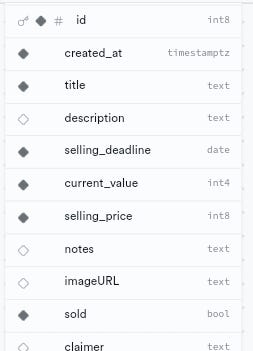
Supabase table schema
I created a new Nuxt.js project in Visual Studio Code
npx nuxi@latest init easy-track
I added the dependencies I need such as:
npm i @nuxtjs/tailwindcss
npm i @nuxtjs/supabase
npm i @nuxtjs/nuxt-icon
I made sure that the nuxt.config.js file was properly updated with the dependencies and added a .env file to hold my Supabase environment variables.
Now I could move on to working in the frontend.
The login page
Next I started with a navbar and simple login screen. I went to Flowbite to get a Tailwind CSS login UI that was clean and simple, and edited the colors to make it work with my custom color scheme.
This was the result:

Screenshot of the login page
The admin dashboard
This page was going to be accessible only to users with certain email addresses, mine and my husband’s, as this project was his idea.

Screenshot of the dashboard for admin emails
If another user somehow tries to access the page they will be redirected to the customer page instead.
The customer page
Instead of integrating Stripe payments, customers (neighborhood members with the website link) can add their name to the item.
Here is the result:
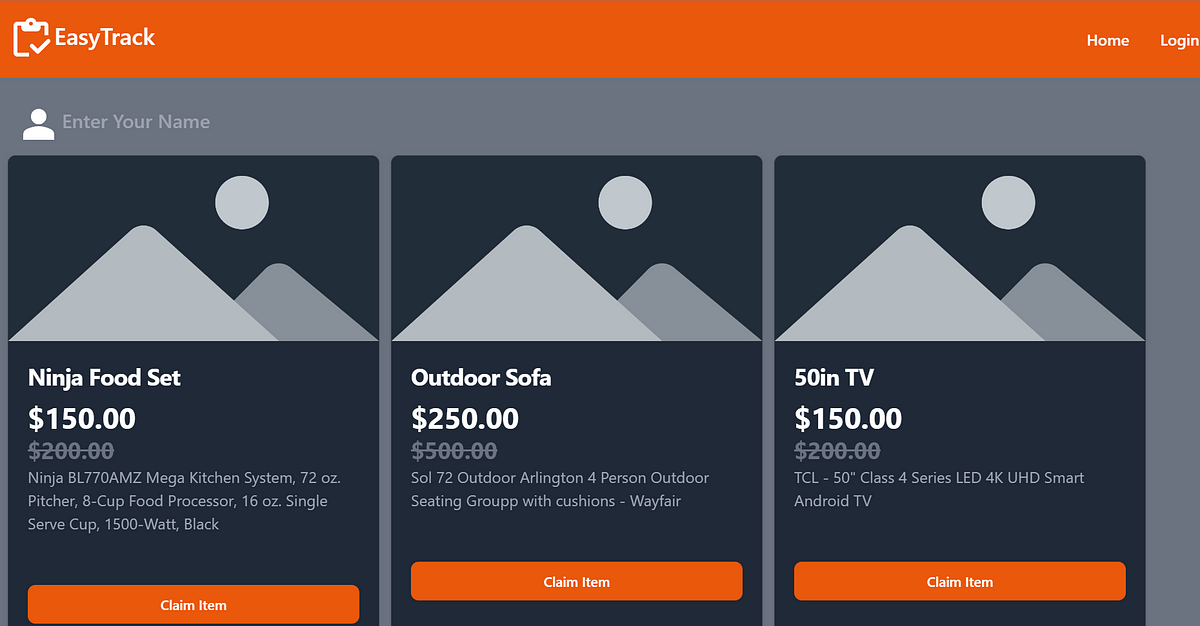
screenshot of the customer page
Deploying the website
I have found that the quickest and easiest way to deploy a nuxt website is with Netlify or another similar website.
In order for Netlify to deploy a project it needs to be on GitHub, so I signed into GitHub and created a new private or project, github will give you instructions on how to connect your github project to the nuxt one.
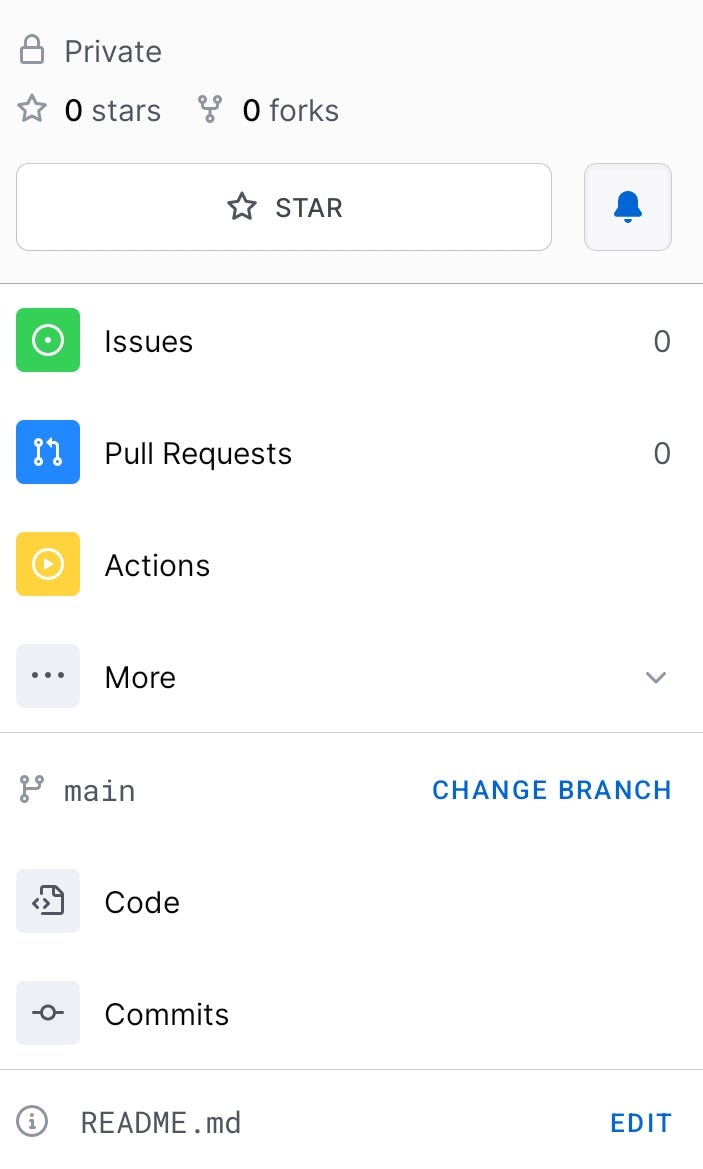
Screenshot of GitHub private project
Next I went back to my project in Visual Studio Code and started the process to connect the two.
git init
git add .
git commit -m "initial commit"
git branch -M main
git push -u origin .....
Once the project was on GitHub, the next step was to go to Netlify.
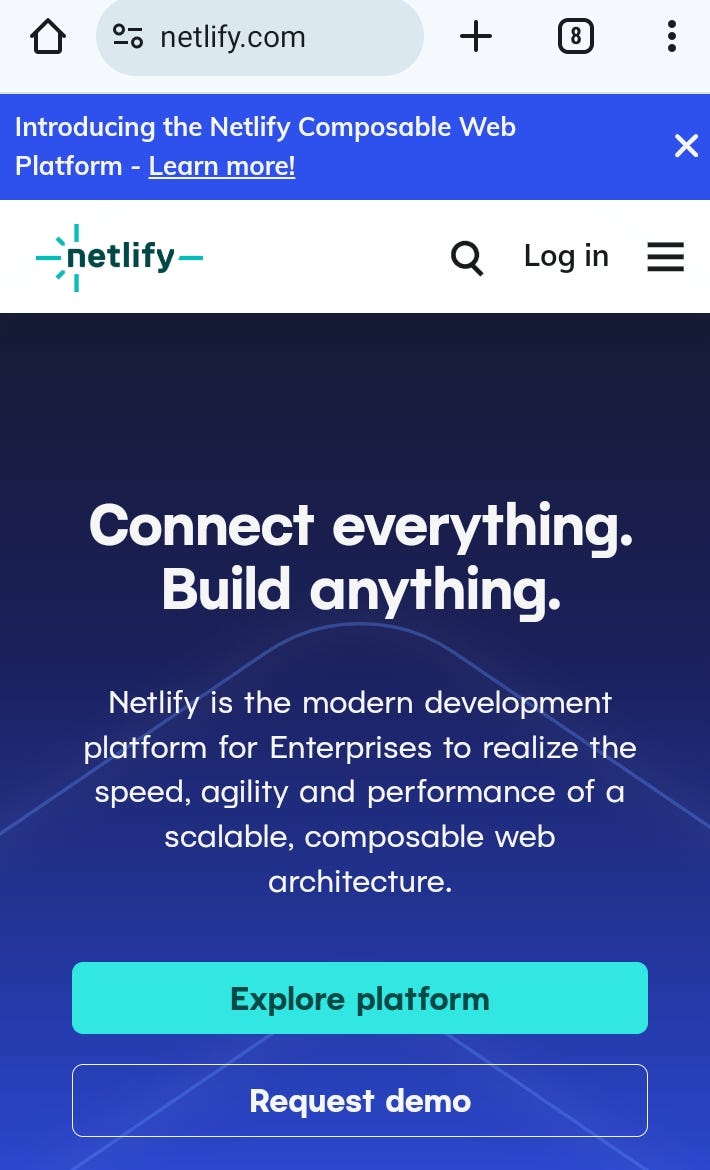
I logged into Netlify and created and new site by import from GitHub and choosing the recently created project, and made sure to add the Supabase environment variables.
I also made sure the build folder was aptly titled dist and clicked deploy. After a few minutes the website was up and running.
Conclusion
After a weekend of working on the website these are my takeaways:
Break a project down into small tasks
Use UI code snippets like Flowbite to speed up production
Use a tech stack that you know fairly well
Thanks for reading, sponsor my blog.